
Cricut™
Cricut.com/setup – Download & Install Cricut Design Space Software for Windows/Mac or PC
Cricut®?
Cricut is a Amazing Smart Cutting Machine that work with an Cricut Design Space App for help you to Design and Craft like Sticker, Labels, Custom Cards or many more materials Cricut machine can cut, this is a unique machine which gives you new beautiful and remarkable designs for your daily use.
How to Use Cricut Maker or Explore Machine
Learn how to use Cricut, Cricut machine can cut a numbers of materials into different shapes and create stickers and labels etc. you have download and install Cricut design Space app for Cricut machine from this app, your Cricut machine will work and make the designs for you, Now will explain you for the downloading and installing process of Cricut design Space app;
- Connect your computer to the Cricut machine using a USB cable or Bluetooth.
- Next, you must connect your Cricut machine to the power socket using a power cable, then turn it on.
- When you have turned on your PC and Cricut machine you can visit; Cricut.com/setup.
- After reaching the official Cricut’s website click the “Sign In” options at right top side in menu.
- Click the “Sign In” or “Create a Cricut ID” option as your requirement from sign in you may have enter your Cricut accounts details over there for Create Cricut ID you have enter some of general information about you Cricut machine like model or mail you for creating your Cricut Account.
- Now after visiting your Cricut account, Access your Cricut account it will open on the download web page then the process will start from this web page.
- Press “Download Button” for Downloading & Installing Cricut Design Space App.
- Wait till it completely download properly.
- After Downloading the Cricut Design space app find the app in download folder.
- Now the turn is to Install Cricut Design Space app and Start setup with the Cricut machine.
- Click on Install extract the SVG file and Connect with Device and Start your Crafting your creations.
- You are ready to go with “New Project” start making your own’s creations.
Setting Up a New Cricut Machine
Set up a new Cricut Machine might be difficult for beginners. will explain in this blog step-by-step process of Cricut Machine Setup.
- For new Cricut Machine Setup follow the steps Given Below:
- First you have to Unbox the Cricut Machine and fix plug in power socket and turn it On.
- After that, open a Preferred web browser. now you need to connect Cricut machine to your device follow the steps.
- Connect with your devices for Downloading & Installing Design Space Software for crafting new creations.
- Now, enter this link cricut.com/setup in the search bar.
- At the top of right you will see “Sign In” written over there click on it.
- You will route on the “Sign In” and Create Cricut ID page select as require.
Sign In is for Cricut member who has Cricut account they can “Sign in” with Details and connect with there Cricut account. software update can also see in software error. customer can use the same Sign In for updating Cricut’s Software Application. “Sign In Button” is for Cricut’s users resolving issue button user will get every answer regarding Cricut Design Space Software.
Create a Cricut ID is for Cricut’s new users learn how to Create a Cricut ID for you is a very easy like ABC. click on the Create Cricut ID button. then fill your general information. enter your email id and your password first name last name select your country. agree terms and conditions. hit the button to Create Cricut ID.
- Visit; https://design.cricut.com/setup this URL will give you the Instructions for Downloading and Installing Design Space Software App.
- Now Click on “Download button” your design space software will download from here. push the “Green button” at last start crafting your own’s creations with Cricut Machines.
Crafters find lots of possibilities with a Cricut machine. They can create greeting cards, stickers, keychains, frames, tote bags, wood signs, T-shirts, and many other projects using different materials. Just refer to the Cricut setup for beginners guide and use your brand new Cricut machine. Yes, the Cricut machine starts working after the setup process is completed. As a user, you need to make sure your machine is ready. Luckily, this content will help you with it. By going through it, you will set up your Cricut on Windows and Mac computers. So, read it and get started with your DIY projects.

Unpacking a New Cricut Machine
The first step to set up a new Cricut is unboxing the box. Move close to the box and then check out the items it should have.
- The Cricut machine you have bought. (It can be Cricut Maker, Explore, or Joy).
- A power cord to give power supply.
- USB cable
- A Cricut pen
- Blade
- Cutting mat
- A few sample materials to create the first project.
Find out if the box has the following items: If you find any of the items missing, take immediate steps. Call the customer service department quickly.
Powering on Your Cricut Machine
Did you find that your kit has all the needed items? Now, find a suitable place to keep your machine.
- First of all, find a flat and stable surface.
- The next thing to make sure of is that you have ample space to do crafting.
- Next, take the power cord and connect it to your Cricut.
- After that, plug the cord into the power outlet.
- If you want to use a USB cable to connect your system, use it at the same time.
Connecting Cricut to Your Computer
Have you powered on your computer? The next step in the Cricut setup for beginners is to connect your Cricut to the computer. This section covers the connection process for Windows and Mac.
For Windows
Follow these easy steps and connect your Cricut to a Windows computer hassle-free.
- Initially, check that your Windows PC is not more than 15 feet away from your Cricut.
- Once you confirm it, move to your computer.
- After that, open your system.
- Now, find the Start menu on your system.
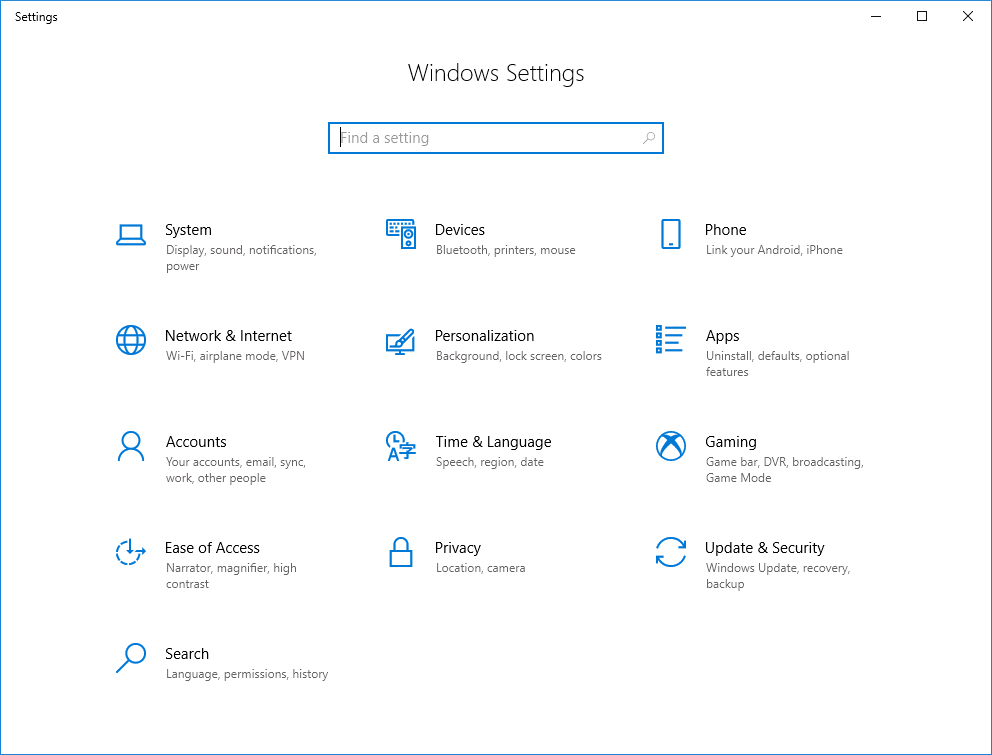
- Then, look for the gear icon and click on Settings.
- When you click on the icon, the next screen will display.
- Here, tap on Devices from the options available.
- Afterward, turn on the Bluetooth.
- Then, move to Add Bluetooth or other device.
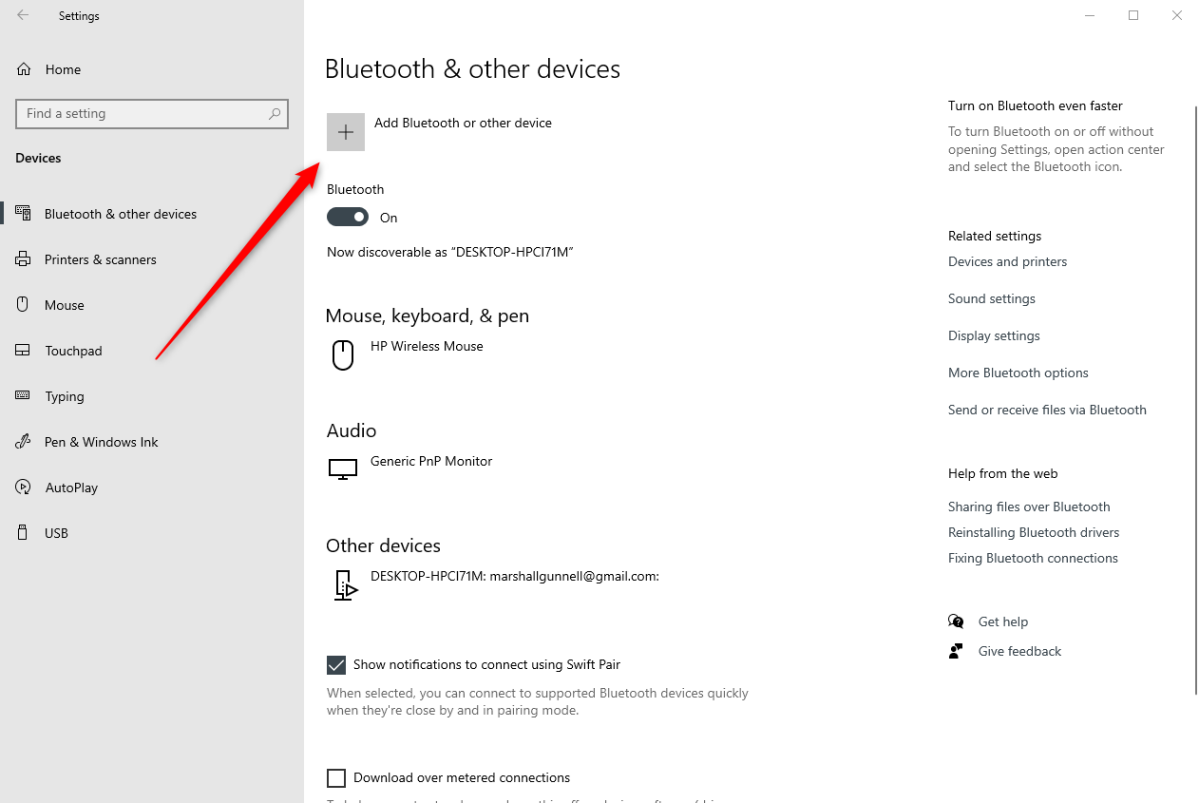
- As you click on Bluetooth, your computer will start looking for your Cricut.
- Select your Cricut from the open list.
With these, your Cricut machine paring finishes. For the Mac system, you will need to look at the steps in the next section.
For Mac
Follow the same steps as in Windows computers in regard to the Bluetooth range. After that, check out these steps and follow them for pairing.
- Make a review to see if you have turned on your Mac system.
- If it’s not on, do it.
- Then, look at the Apple menu in the top-left.
- There, you will find the System Preferences option.
- Tap on that option.
- On your Mac, find the Bluetooth app.
- Further, turn on the Bluetooth.
- Thereafter, you will need to wait till your system finds available devices.
- Click on your specific Cricut model, then.
Thus, you have paired your Cricut successfully to Mac. However, the setup process is not complete yet. Next, download and install the Cricut setup software on your system.
Downloading & Installing Cricut Design Space on Computers
Cricut Design Space is important in the Cricut setup for beginners. After all, it works on Windows and Mac computers. Plus, the downloading and installation process doesn’t take much time. Let’s start with the process below.
For Windows
For Windows computers, continue with these downloading instructions.
- First, open the browser on your Windows system.
- After that, go to the main site of Cricut.
- Find the Cricut Design Space app there.
- Further, look for the Download button next to the app.
- Following this, read the Terms and Conditions of Cricut to get the app.
- Next, click on the I Agree button.
- Then, tap the Download button next to it.
- Now, the app downloads to your system.
- Go either to the browser or your Downloads folder.
- Find the app in the folder and double-click on it.
- Start the installation process.
- Now, you will see an installation progress window on your screen.
- Did you complete the installation? Now, you will see the app on your desktop screen. Those who want to use the app easily, click on Pin to Taskbar.
For Mac
Are you setting up your Cricut on Mac? Then, follow these super easy steps to get the Cricut app on your system.
- On your Mac System, open any browser.
- Next, move your cursor to the search bar.
- After that, visit the official Cricut site.
- Following this step, search for the Cricut setup software.
- Once found, find the Download button near t it.
- Before you click on the Download button, read the Terms and Conditions.
- Tick mark the box to agree to them.
- Now, hit the Download button and start downloading the software.
- Then, you will see those downloaded files in your browser.
- Or, find them in your Downloads folder.
- Discover the .dmg file in the folder.
- Drag the Cricut icon to the Applications icon.
- To start the installation, double-click on the Applications folder.
- Your Mac now asks you, “Are you sure you want to open it“?
- Choose the Open option to continue.
- Now, you have installed the Cricut app on your Mac system. Use the app by double-clicking on it. After installing, use your Cricut ID or create an account.
Making First Cricut Project
After the Cricut machine is setup correctly and connect to your system, you can use it to create your very first project. It is the final part of the Cricut setup for beginners.
- To start, open the Cricut application on your system.
- After that, select a project.
- Now, the Cricut software guides you to choose materials.
- Load materials into your machine.
- Thereafter, make your first cut.
Thus, you have set up your Cricut properly. In summary, you need to unbox your machine. After unboxing, power on your machine and connect it to your system. Later, download the application and create an account or log in to use it. Finally, you can start with your Cricut setup projects right away.
Frequently Asked Questions (FAQs)
How to Solve Cricut Won’t Connect Issue?
If your Cricut fails to connect to the system, then you will need to take some quick steps. A few of them are given below.
- Go to the web browser and delete the cache and history.
- Start a computer scan for viruses and malware.
- Make sure that the firewall or antivirus is not preventing the connection.
Can I Use a USB Cable for My Cricut Setup?
Yes, you can use it while doing Cricut setup for beginners. There is a USB port available on the Cricut machine to which you can connect the USB cable. So, take one end and insert it into your machine and the other end into your system. A USB cable works to connect all devices, be it a computer or a mobile. But if you have a Cricut Joy machine, you can’t go with it. Use Bluetooth to prepare it.