Are you looking for a guide to learn how to use Cricut Explore 3? You’re in the right place. I write all about Cricut machines and their uses. For the past three years, I have been using Cricut Explore 3, and it has been a wonderful experience. I admire the Cricut machine a lot, and whenever I work with it, I feel great about its capabilities.
Being highly advanced and feature-rich, this Cricut cutting machine helped me a lot in my crafting journey. Now, I’m a full-time DIYer and a mother. In my initial days, I never took my work seriously, but when I see users like you who are really into crafting, I feel somewhat blessed that I’m able to teach you something.
In this guide, I will focus on the Cricut Explore 3 functionality and the steps involved in making a project with it. Let’s get started with the blog post and learn something new.
Unboxing the Cricut Explore 3 Machine
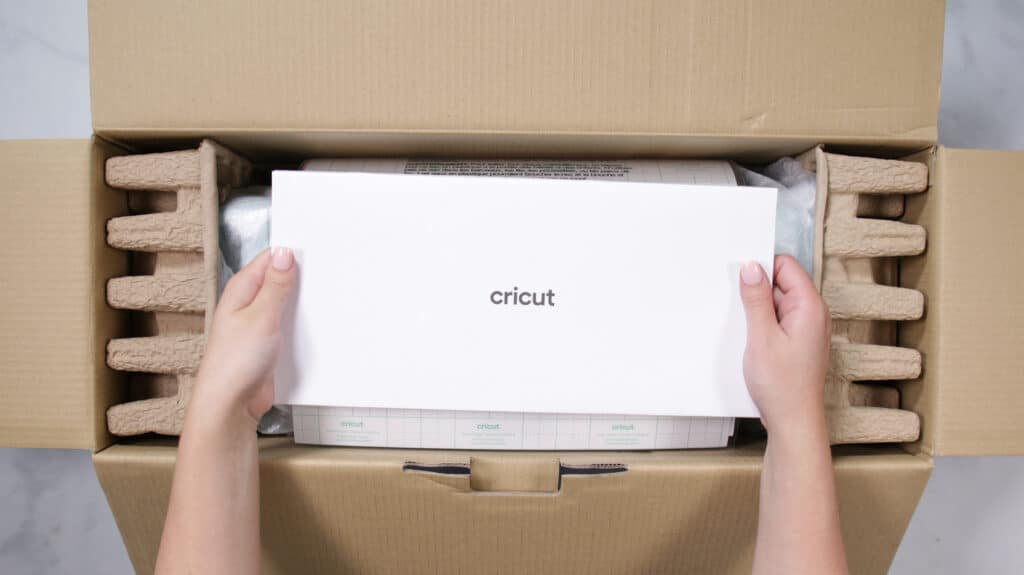
I don’t want you to rush into the project-making. Instead, I want you to tell me about the setup process first and then move on to learning how to use Cricut Explore 3. Here is the list of items that you’ll get when you unbox your Cricut cutting machine. Check the list here.
- A USB cord
- Fine point blades
- Housing
- Sample materials for practice
- Welcome guide or instruction manual
All these are the components that you’ll get inside your Explore 3 box. With the help of all the items, you can set up your Explore 3 easily and get started with it to start a project. Let’s move ahead.
How to Setup a Cricut Explore 3 on a Computer?
Your first step should be to setup your Cricut machine to use it effectively. Follow the steps below to setup the machine correctly.
- To start, connect your Cricut machine to a power supply and turn it on.
- Now, connect your machine to your computer or mobile device via USB or Bluetooth.
- After that, visit Cricut’s official website and get the Cricut Design Space software.
- Once your app is downloaded, install it.
- After that, open your Cricut app and Sign in to it using Cricut credentials.
This is how you can get started with your Cricut product. Now, it’s time to learn how to use it.
How to Use Cricut Explore 3 to Make Your First Project?
Below are the easy steps to create your first project using the Cricut cutting machine. Get ready with all the necessary supplies and learn how to use Cricut Explore 3 for beginners.
Step 1: Create a Design on the Cricut Software
You have already setup the Cricut Design Space software. Now, it’s the time to use it to create a design. You can utilize all the best features included in the Cricut app, such as text fonts, images, and lots of pre-made projects. Using them, you can create the best design and proceed to the next steps.
Step 2: Choose the Material to Cut
In this step, you need to select a material you’re using for cutting and making a design. Then, you need to place your material on a Cricut cutting mat. After that, your cutting material will get ready to be cut into the design you’ve created. Next, load your Cricut cutting mat into your Cricut machine and hit the Go button to allow cutting.
Step 3: Select Your Material Under the Settings
Before the cutting process starts, you’ll have to select the material you’re working on. Afterward, select your material under the Design Space settings and send your design to the Explore machine to proceed with cutting. Continue with the steps to learn how to use Cricut Explore 3 to create your very first project.
Step 4: Allow the Cutting to Happen
Now, your cutting process will start. To get started hit the flashing button on your Explore 3 and allow the cutting process to happen and your material to be cut into the design you want. This process will take some time, and then your material will be cut out soon.
Step 5: Take off Your Cutting Mat
When your cutting process is complete, remove the cutting mat from the machine and then remove your material too. Finally, you’ll have your desired cutting material you’ve been waiting for.
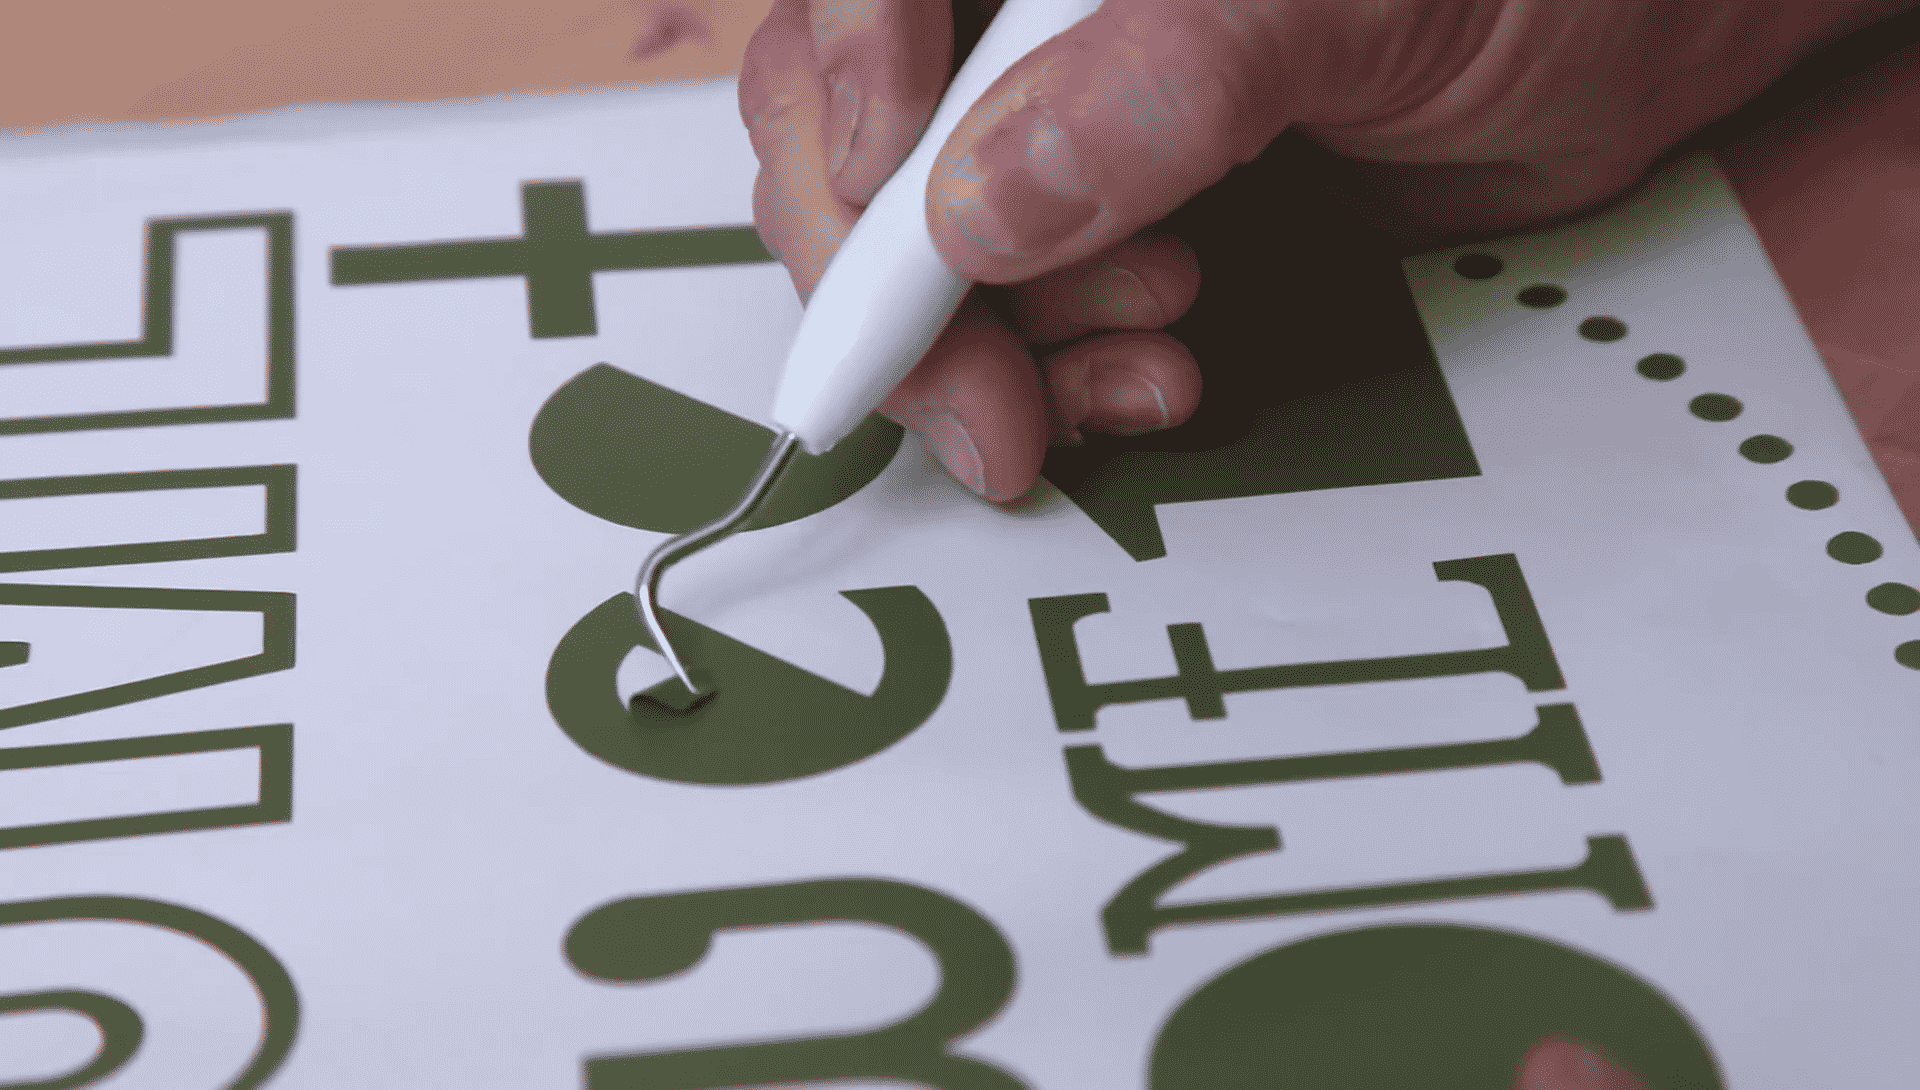
Step 6: Weed out Excess of Material
In this step when you have your final material, it may have some unnecessary leftovers that need to be removed. Here, you can use a weeding tool that will remove the remaining parts easily. Moreover, when you work with an iron-on project, you can transfer the design using a Cricut heat press such as Cricut EasyPress.
FAQs
What Can I Make with a Cricut Explore 3 Machine?
Check out the list below to learn what types of projects you can make with a Cricut cutting machine.
- Stickers
- Decals
- Leather earrings
- Door sign
- Stencils
- Banners
- Greeting cards
- Envelopes and many more.
Can Beginners Use Cricut Explore 3?
Yes, Cricut Explore 3 is perfect for beginners to start cutting, scoring, and drawing with. Many users choose this machine for its unbeatable performance. For instance, you can use vinyl, infusible ink, cardstock, and even fabric to create a project with your Cricut machine. Overall, this Cricut machine is an excellent choice for beginners. Plus, they can easily learn how to use Cricut Explore 3.
Do I Need a Printer With My Cricut Explore 3?
Yes, you can use a printer to create projects using the Print Then Cut feature. Cricut users often use an inkjet printer to create professional-looking projects. Mostly, school and college students need printers to cut their favorite photos and images.